

How To Clean Water Softener Brine Tank
Written by: Gene Fitzgerald // Last Updated:
Please note: This page may contain affiliate links. If yous buy a product or service through such a link we earn a commission at no additional toll to yous. Learn more virtually our product review process or check our FTC affiliate disclosure.
H2o softeners are low maintenance for the almost function. Withal, to ensure that your organization continues to run smoothly and at tiptop operation for years to come, you lot tin can do more than just pour new table salt into the brine tank every now and and so.
Proper water softener maintenance volition also increase longevity and lower repair costs. And the practiced news is that it's uncomplicated enough for every homeowner to take care of.
Want to learn more? The following guide volition provide you with everything you need to know.
Contents
- Refilling Table salt
- How to drain the brine tank on a water softener
- How to clean a water softener
- Cleaning the alkali tank
- Sanitizing – tin y'all put bleach in your water softener?
- Cleaning the resin tank
- How to remove table salt bridges
- How to prevent bridging
- Mushing
- Cost
- Maintenance checklist
Refilling Common salt
No demand to make things more complicated than they take to exist. Just bank check the table salt level of your water softener's brine tank once a month. Refill when it's below the ¼ mark. Don't fill up to more than ⅔ to forestall bridging. That's it!
How to Bleed the Brine Tank on a H2o Softener
Draining a alkali tank is necessary for cleaning, sanitizing and troubleshooting.
Thereby nosotros need to differentiate between pre and mail-fill up water softeners:
- A mail-fill system will automatically refill its brine tank at the cease of each regeneration bicycle. Thus, information technology always has water or rather brine within.
- If at that place is no water in the alkali tank that means that y'all own a pre-fill up unit and there is no need to drain information technology, obviously – at least every bit long as information technology'due south operation properly.
That being said, there are different options for how you can drain a post-fill water softener.
For example, you could simply scoop the water into a bucket. This manner you lot can cascade it back into the tank when yous are washed cleaning or whatever information technology is that you are doing. Of class, this but makes sense if the water is non too muddy.
Alternatively, you could use a moisture vacuum. Another option would be to showtime a manual regeneration bicycle. During the brining phase the softener volition automatically suck all water out of the brine tank.
(Depending on your model you tin can trigger regeneration by pushing and holding the "regenerate"-button. When regen starts, push the button one more time to skip to the brine cycle. Once the brine tank is empty, skip all other cycles to go back into service.)
Your last choice is to empty all water into an appropriate drain. Before you motility the tank, still, remember to put your softener into featherbed. And then disconnect the fill tube that connects the alkali tank to the caput valve (for side-past-side softeners only) as well every bit the alkali tank's overflow hose.
If your softener features a salt grid it's a proficient idea to take it out, likewise. You lot volition also need to remove the alkali well – that is the extra tube inside the brine tank that stores the float assembly. Kickoff, take out the bladder. Then dismantle the overflow elbow if there is one and finally pull out the tube.
Now you can carefully tip over the tank. But beware that if you empty it on your lawn, the grass will turn brownish and die.
How to Clean a H2o Softener
A standard water softener needs to be cleaned one time a twelvemonth to every five years depending on the circumstances. However, if all of a sudden output water hardness increases or the water is discolored or smells funny, information technology's definitely a good idea to clean the entire organization every bit before long equally possible.
Hither is how:
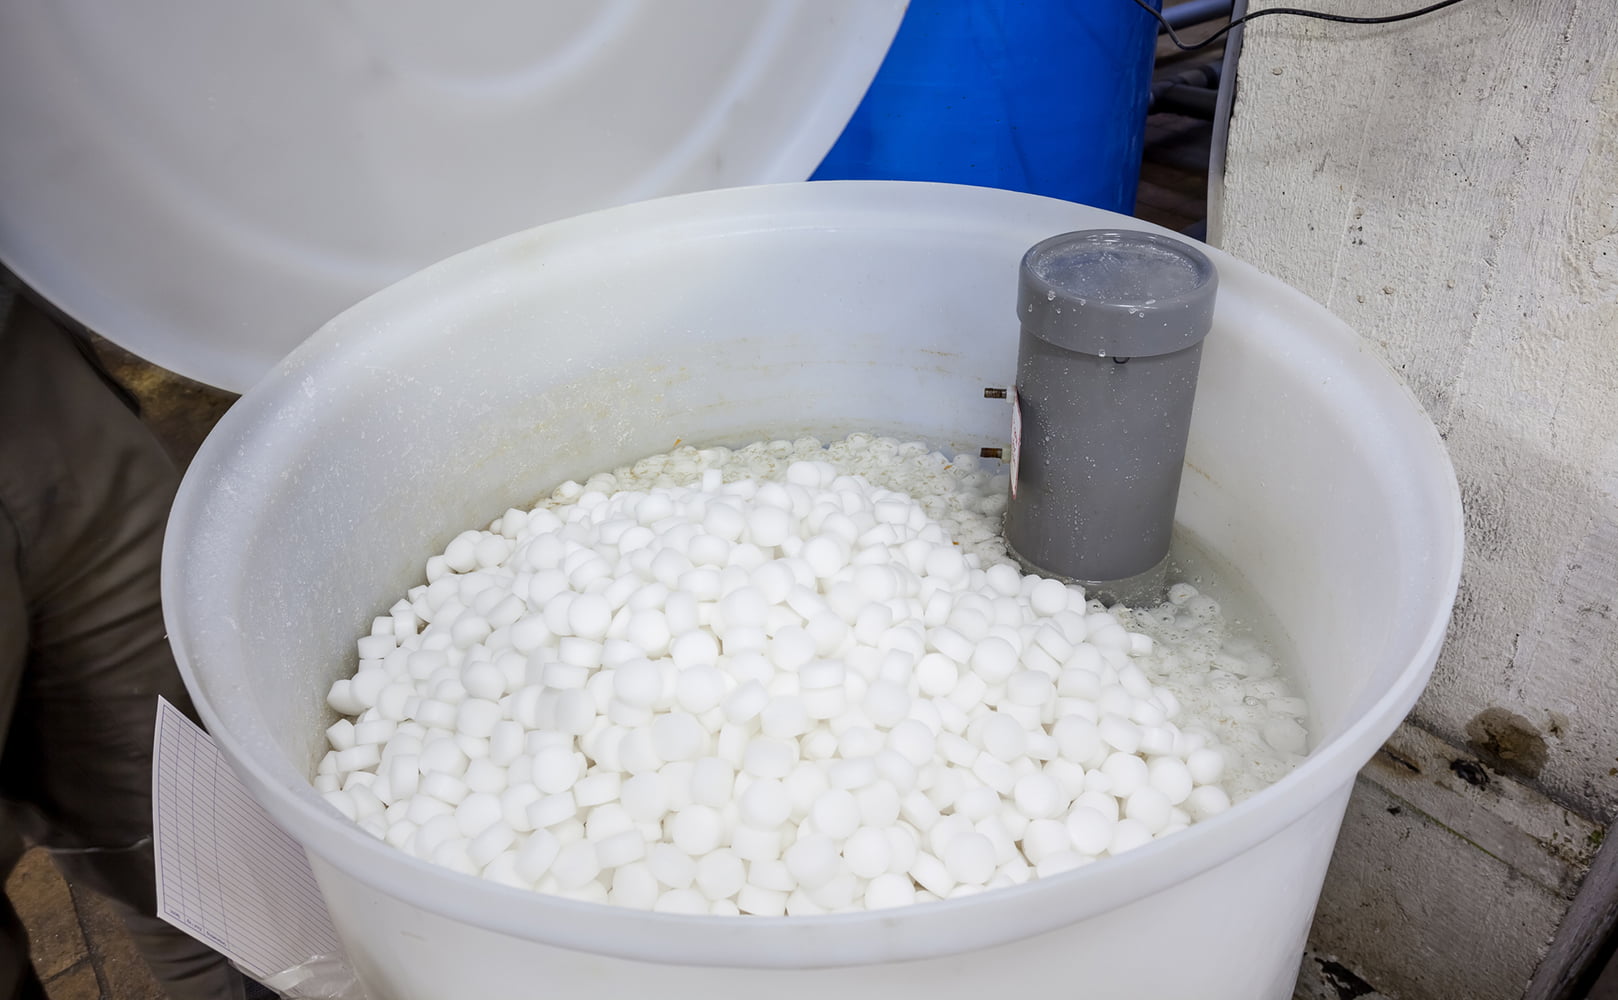
Cleaning the Brine Tank
The all-time time to clean the brine tank is when it has nigh run out of salt. This way you don't take to scoop information technology all out by hand and the tank is lightweight so that you tin can motility it around for easy access. Maybe you fifty-fifty want to take it outside where you don't take to be super careful about making a water mess.
What's more, when the salt-level is low you tin already run into any clay or mold in the bottom of the tank.
FYI: The dirt is contained in the softening table salt – inexpensive rock table salt in particular. Considering sediment cannot dissolve information technology accumulates over time equally you keep refilling the brine tank. After a while, the brine might wait like sludge. This is the chief reason for cleaning: So that the sediment does not clog your system. It could likewise prevent table salt from dissolving properly.
In case the common salt level is still high and y'all don't desire to await you will accept to take it out manually. Normally, any salt to a higher place the grid plate (if there is one) is worth saving for later utilise. Anything below the plate is garbage.
If you own a post-fill water softener that refills automatically you will also have to drain all water going forwards.
Like we said, in that location are dissimilar options for how you tin do this (run across in a higher place).
Got rid of all the water? Cracking! The rest of the cleaning procedure looks similar this:
- Remove whatever remaining salt + sludge
- Clean inside
- Add together new salt (and water with postal service-fill softener)
- Set regeneration bicycle for coming dark
In case you haven't already taken out the brine well and table salt filigree at this point, now is the time to do so.
To remove whatsoever remaining table salt and/or sludge you can use a shovel or whichever tool you find suitable. But be careful not to damage your tank. Again, a shop vac is great for this. If the salt is likewise hard to vacuum you tin suspension it loose with a broom handle. And then use a hose to rinse the inside of the tank and vacuum the remaining common salt, h2o and sediment.
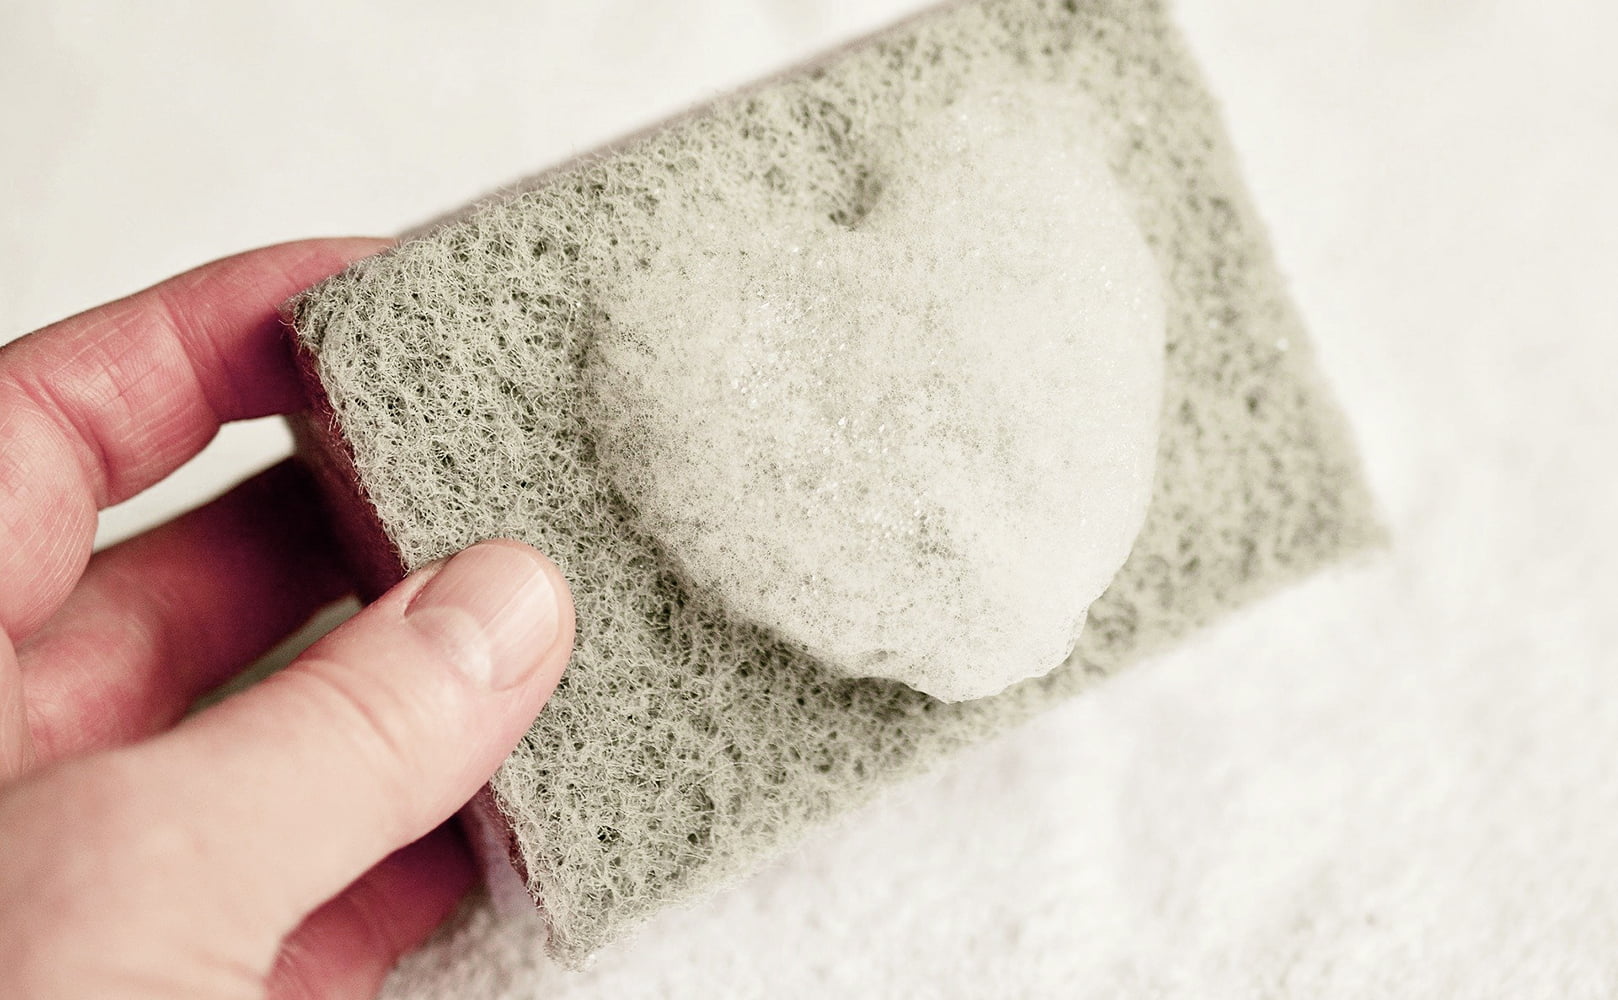
For the actual cleaning, mix water with adept old dishwashing detergent – no demand for harsh chemicals – or mold remover if need be and use a brush to practise some scrubbing. Go along in mind that there is no point in trying to brand the tank wait brand new. And don't forget to rinse thoroughly after.
Pro tip: This is the perfect fourth dimension to check that the bladder switch is directly and tin move freely up and down. As well, double-cheque that it'southward not plugged so that it can suck in brine during regen (soak in hot water to unclog).
Once everything is overnice and clean, information technology's time to put the pieces back together and add together new salt, two or 3 bags should do the trick. Only showtime, put the brine tank dorsum in place considering it volition be pretty heavy soon.
Remember that with a mail service-make full organisation you lot will too accept to add about 3 gallons of water. Don't worry, the unit will suit its own water level over time.
Lastly, gear up your h2o softener to regenerate the following night and you will be back in service the next day.
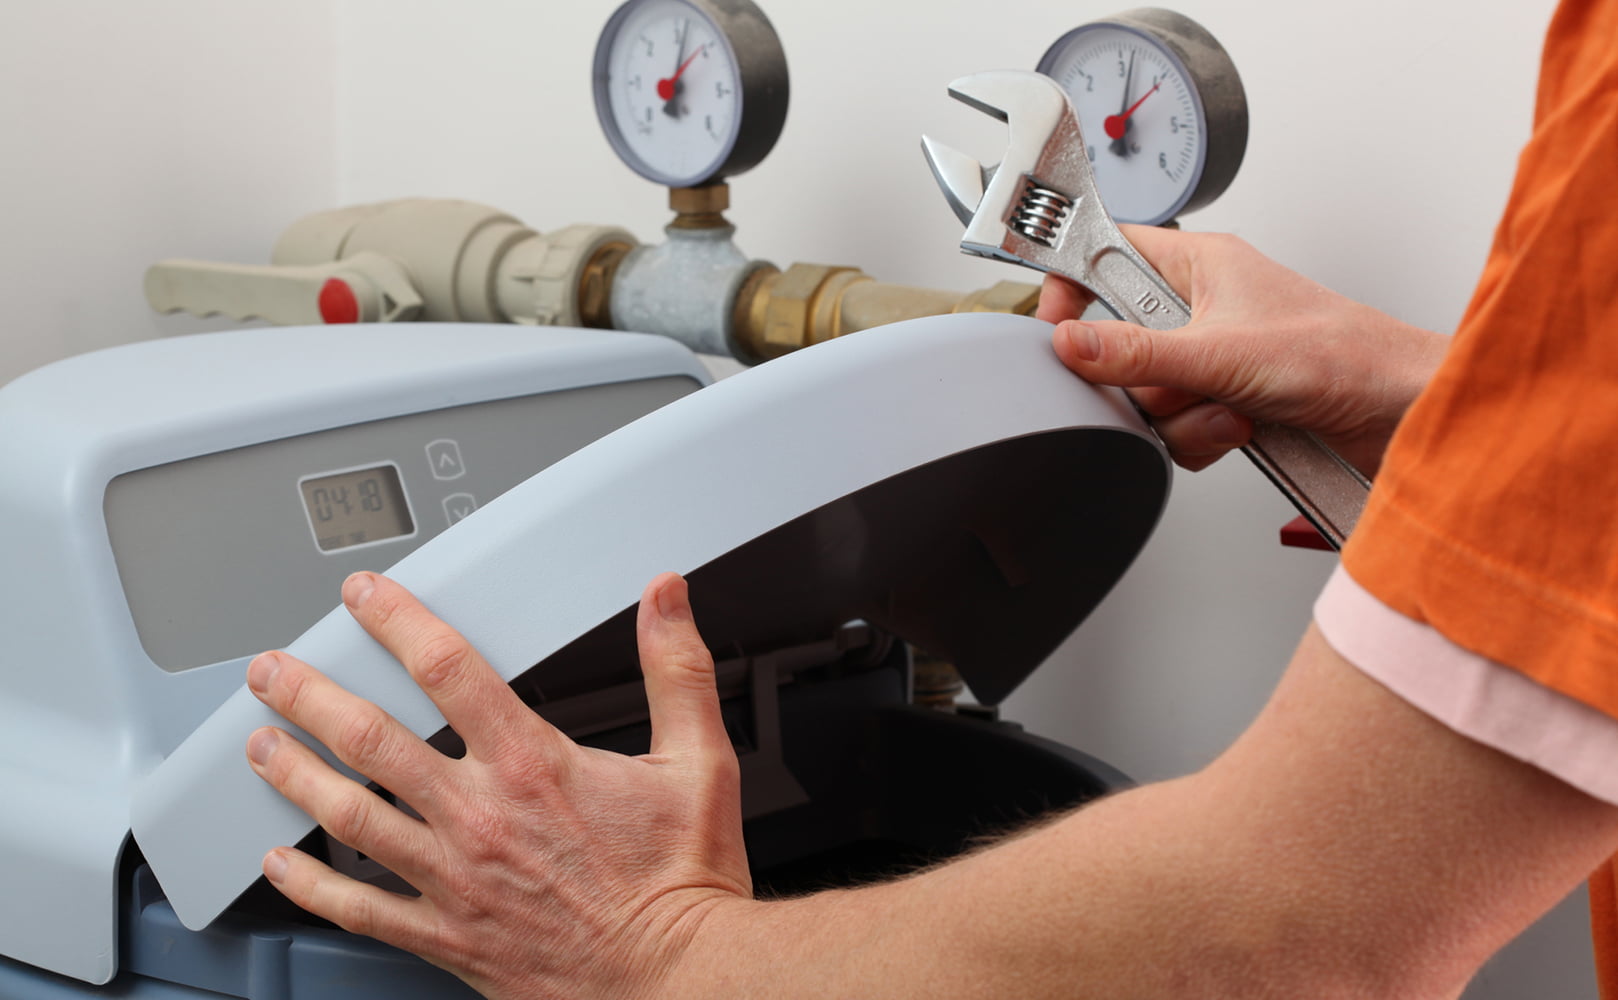
Venturi Valve/Brine Injector Cleaning
Water softeners come with either a venturi valve or a brine injector. Both are responsible for drawing brine from the brine tank into the resin tank.
Thereby, they make utilize of a mesh cyberspace or some other type of screen to stop dirt from entering the resin tank. This ways that the valve or injector will somewhen clog upwardly. In other words, whichever yous have yous want to clean it out every half dozen months or so.
Now, for every h2o softener model it'southward going to be different, and so information technology's best if you refer to the transmission.
The components sit somewhere at the dorsum of the head unit of measurement. Mostly, you first need to put your softener into featherbed. Then release h2o pressure by running through a manual regeneration earlier opening the cover/cap.
Sanitizing – Can You Put Bleach in Your Water Softener?
A water softener and its resin in particular can become contaminated with biological organisms similar bacteria for different reasons, one beingness a polluted h2o supply. But even if your water is disinfected at the source, microbes can enter at any point before the softening unit.
Above that, fe, sulfur and other impurities can promote infestation. Typical signs are a alter in colour, foul taste or rotten egg smell in your water. In addition, mildew might form in the brine tank which can also cause an unpleasant olfactory property.
Newly installed softeners and those that have been out of service for some fourth dimension or that run for long periods betwixt regenerations are specially afflicted.
Bottom line: Later on the regular cleaning process, you may want to employ 2 ounces of unscented household bleach mixed with 3 gallons of water to sanitize the alkali tank.
But let the solution sit for about 15 to 20 minutes to kill any mold or mildew. Then scrub with a castor. Tip: Focus on the float assembly.
Dump the mixture and rinse advisedly with clean h2o.
Before using bleach or whatsoever other chemical to sanitize your water softener, read the instruction manual for specific hints and restrictions or consult a professional person.
Alternatively, what you tin can (and should) do is sanitize the entire arrangement. In fact, some softeners will require periodic disinfection, like every 3 to 12 months, during their normal life.
Once again, 5.25% sodium hypochlorite (bleach) is usually best suited for this. Information technology can be used with polystyrene resins, zeolite and greensand.
One manufacturer recommends to add together 1.two fluid ounces – that'south less than a quarter cup – per cubic pes polystyrene resin into the brine well before/after backwashing the system. The bleach will dissolve in the alkali and then be sucked into the resin tank during the brining wheel. Proceed with normal regeneration.
Depending on your softener you might also have to add together ii to 3 gallons of water into the alkali tank. This usually entails unplugging the unit for xx to 30 minutes during the brining phase to allow all brine to be used up.
For complete sterilization, the bleach should remain in contact with the resin for at least one hour.
And to brand sure that none of information technology ends up in the water that you are later going to employ, the resin bed should be rinsed with a minimum of 75 gallons of water per cubic foot. This will also eliminate any disinfection byproducts that may take formed.

three Further Comments:
- Never mix bleach with resin cleaner (see side by side department). Doing so may produce potentially harmful fumes. If the latter is already in your table salt or brine you have to disconnect the brine line and suck the bleach out of a bucket.
- Chlorine diminishes the softening capacity of the resin bed. Why then use bleach for sanitization? Because compared to long term chlorination as volition exist the case for most municipal supplies and many individual wells, a strong concentration for a very brusque fourth dimension will consequence in minimal damage. Also, the pros outweigh the cons. Chlorine is one of the most effective and at the aforementioned fourth dimension near inexpensive sanitizers available. When leaner is nowadays in the resin bed, occasional shocking is the better of the two evils.
- There are NSF & EPA approved sanitizing products that kill 99.99% of harmful leaner and a wide range of viruses.
Have you neglected the maintenance of your water softener for too long? Bank check out our softener reviews if you lot demand a replacement!
Cleaning the Resin Tank
What do yous need to be doing to go along the resin bed in great shape? Not a whole lot in most cases, unless your h2o is really bad.
Municipal water is fine, usually. Well h2o can exist problematic if it contains loftier amounts of iron or manganese. Both can foul the resin, since they are not entirely removed during regeneration.
Besides, accumulation of organic compounds, most commonly tannin and humic acids, can occur in homes with shallow wells. When these compounds precipitate they become trapped between the resin beads.
In such a instance, cleaning a fouled bed with a specialized resin cleaner will restore softening chapters for reduced salt and h2o usage, prolong resin life, and guarantee that all other system parts work smoothly equally well. It might even help to meliorate the taste of your water and boost flow rates.
How often to clean? Nigh experts recommend time intervals of three to 12 months, depending on the status of your water.
Water Softener Resin Cleaners
There are a peachy number of resin cleaners for you lot to choose from, Fe OUT® being the most pop for removing atomic number 26 deposits.

Iron OUT® – Available on amazon.com
Atomic number 26 OUT® triggers a chemical reaction that puts iron ions back into solution. The main reagent is sodium hydrosulfite. Other products might use citric or muriatic acid for instance.
Unfortunately, not every atomic number 26 remover or other specialized cleanser volition be suited for your softener and resin. So you want to find out which ones yous are immune to use first. The manufacturer will be able to provide you with all the necessary information.
Then all you lot have to practise is follow the instructions on the product. Some you deliquesce in water and pour on height of the salt, others go into the brine well before you starting time a regen wheel. Some are liquid, some dry. Some need plenty of salt in the alkali tank, others tin just exist used when the salt level is low.
For some you can also use a dispenser that you mount to the side of your alkali tank. The dispenser will drip feed half an ounce to one ounce of water softener cleaner into the salt every day for continuous maintenance. The resin is cleaned with each regeneration and fouling is prevented.
Want to ensure to remove whatever cleaner residues prior to using the water? Thoroughly affluent your softener after regen or run a 2nd bike approx. 2 hours after the first.
How to Remove Table salt Bridges
With salt bridging a.k.a. common salt clogging, an encrusted span hinders the table salt from reaching the bottom of the brine tank and getting in touch with the water to form brine. This, in plow, prevents your softener from regenerating properly.
Merely to clarify: If a salt span has formed your brine tank might even so expect like information technology's completely filled. However, all salt underneath the span is probably gone. This is why it'southward important that you lot spotter out for this phenomenon whenever y'all refill the tank.
The bad news is that issues with common salt bridges accept become more than mutual in recent years. Why? Because today's h2o softeners are much more than salt efficient than they used to be. As a outcome, they utilise less salt which means that it has more than time to clog. Other reasons for bridging include high air humidity and using the incorrect blazon of table salt (consult the transmission to make sure that you're using the right one).
By the way, the most obvious symptom of a table salt bridge is that the brine tank salt level is not going down at all. What'south more, hard water might come out of the system.
You can hands test for this by gently hit on the side of the brine tank to see if information technology moves or if it's really house. The latter is an indicator for a salt span. What you can likewise do is take a broom handle and try to push it all the fashion down to the bottom of the tank. If yous can't then you definitely have a bridge.
Be certain to trounce any encrusted salt and big clumps that may accept formed. Again, you can employ a broom handle for this or any other tool that is not likewise sharp – be careful not to break the salt grid at the bottom. What you tin also do is knock effectually the side of the tank with a rubber mallet. Once you have eliminated the bridge beginning a manual regen bike.
In more than severe cases, loosen and take out as much salt as y'all can. So remove all alkali that is left in the tank (it has already dissolved as much common salt as information technology peradventure can).
Next, pour 2-iii gallons of warm or hot tap water on meridian of the common salt. This might already be plenty for the salt span to cave. Cascade another ½ gallon into the brine well.
Within the next couple of hours the water will offset absorbing some of the salt. After about 4 to 5 hours you can hit the regen push.
The adjacent 24-hour interval, poke around in the alkali tank. Has the span dissipated? If not, try to loosen up some more salt and trigger another regen cycle. Y'all might need to practise this a couple of days in a row.
If you've used the wrong blazon of salt there is no way effectually replacing it.
How to Forestall Bridging
A simple rule to forestall salt from bridging is to fill your alkali tank up to ⅔ and add no more table salt until the level is down to about ¼. In boiling areas, you should exam adding even less but more frequently. And you don't desire to mix pellets, cubes, crystals or cake salt with i another.
Equally long as you lot go on doing this you lot volition likely never have problems with salt bridges always again.
Mushing
Table salt mushing is a different kind of problem. Information technology occurs when salt dissolves and so recrystallizes to class a thick layer of sludge at the base of operations of the brine tank.
Instead of mixing with water, the mush can clog the alkali well and cause the water level in the tank to ascent with each regen cycle. Eventually, information technology will overflow.
To fix this y'all tin can use the broom handle and try to interruption up the mush or scoop information technology all out. You don't necessarily have to discard the salt, particularly if it's not overly muddy. Instead, y'all tin deliquesce it in hot water and pour it back into the brine tank – remember recycle.
Cost
If you prefer not to deal with whatsoever of the maintaining yourself you can hire a company to do information technology for you. Fees for water softener maintenance programs that include monthly salt commitment and arrangement inspection start at $120 USD per year.
For a complete overview of how much a water softener costs, click hither.
H2o Softener Maintenance Checklist
This checklist covers bones maintenance tasks that you can practise yourself.
Full general
- Softener is plugged into ability supply
- Arrangement is in service fashion unless regenerating
- Optional: Test output water for hardness – provides insights into whether or not system is properly calibrated + functioning correctly; conform if need be:
- Hardness settings
- Regeneration time of the twenty-four hours, frequency + duration
- Timers
- Common salt settings
- After power outage: Reset timers
Brine Tank
- Water level is normal
- Salt level is above water level; refill if need be (up to ⅔)
- No table salt bridge or mush; remove if demand be
- Empty + clean; fix regeneration for coming night (nearly once a year)
- Float switch is directly + free from common salt/dirt + can motion freely up and downwardly; soak in hot water if need exist
- Optional: Sanitize
Resin Tank
- For loftier iron/manganese/tannin levels: Clean resin with resin cleaner (almost every iii to 12 months)
- Optional: Sanitize
Single Parts/Components
- Connections practice non leak
- O-rings are in good condition; replace if need be
- Exercise bypass valve to keep information technology lubricated
- Clean alkali injector/venturi valve (most every 6 months)
- Optional: Replace pre-filter
Checklist for Download: Checklist.pdf

If you lot have any thoughts or questions about how to maintain a h2o softener please don't hesitate to go out a comment beneath!


Source: https://www.best-osmosis-systems.com/water-softener-maintenance/
Posted by: lapradesoccring.blogspot.com
0 Response to "How To Clean Water Softener Brine Tank"
Post a Comment